If you’re not using a CheckMarket survey panel, you can still link your own paid survey panel to your survey. To do that, complete the following steps.
- Create a survey in CheckMarket.
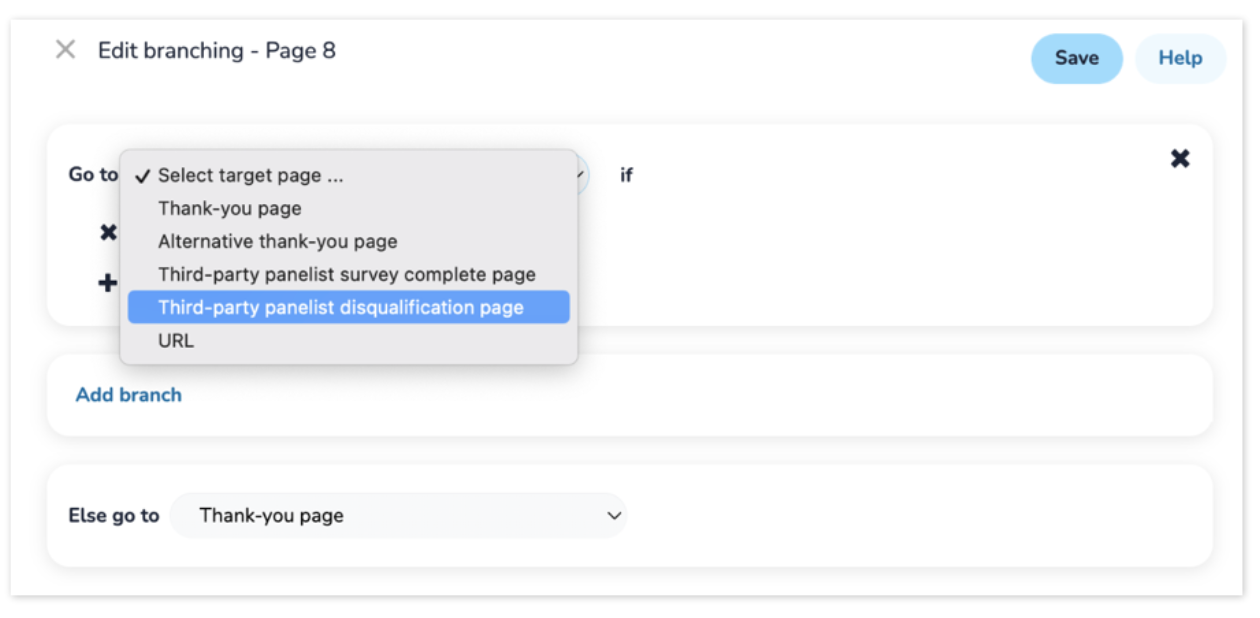
- If your survey has screener questions (questions that are designed to disqualify respondents from your survey), add branching to the page that your screener question is on and select the Third-party panelist disqualification page from the Target page dropdown. This way, any respondent that does not pass your screener (e.g., the respondent is too young, too old, does not live in the intended area, did not purchase the specific product in question, etc.) will be screened out to the panel vendor’s terminate/disqualification URL. Note: you will set up the third party panel vendor’s actual terminate/disqualification redirect URL in a later step.
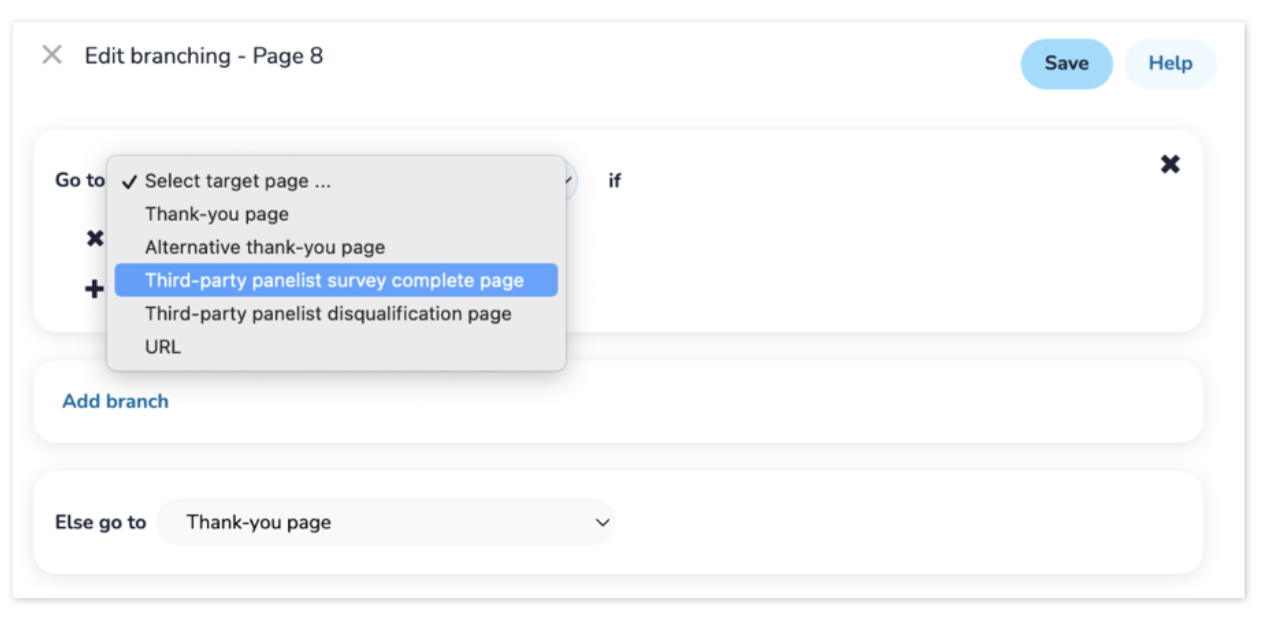
- Go to the end of the survey. At a later step (once you configure the panel vendor URL’s in the URL Management page), we will automatically redirect survey completions to the Third-party panelist survey complete page. This way, all respondents who reach/complete the last page will be redirected to the panel vendor’s complete URL.
Attention: If your survey has multiple final pages based on the respondent’s answer pattern, add branching to each “last” page and set the Third-party panelist survey complete page as the Target page.
Your survey is now ready. The panel provider, however, still needs to receive the correct survey link and you will need to input the panel provider’s unique complete, terminate, and overquota URL’s so that your branching will correctly route panelists to their designated panel vendor’s redirect links. Complete the steps in the following section to retrieve the Survey URL and to set up the panel vendor’s endpoints.
Retrieving survey links for distribution to panels
- Select Distribute from the survey options menu.

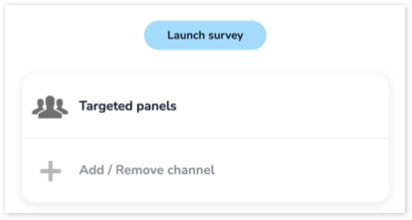
- Select Add / Remove channel.
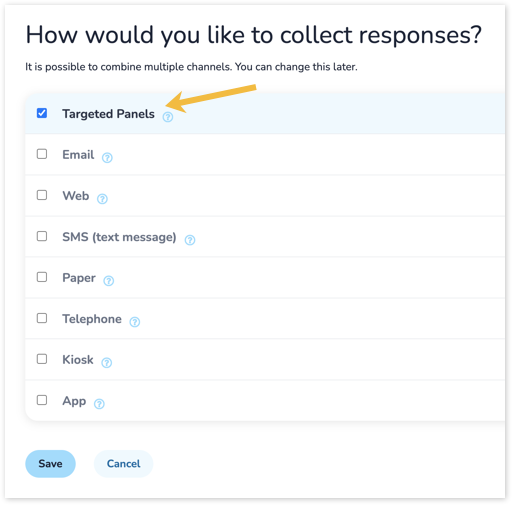
- Select the distribution channel Targeted panels. Then click Save.
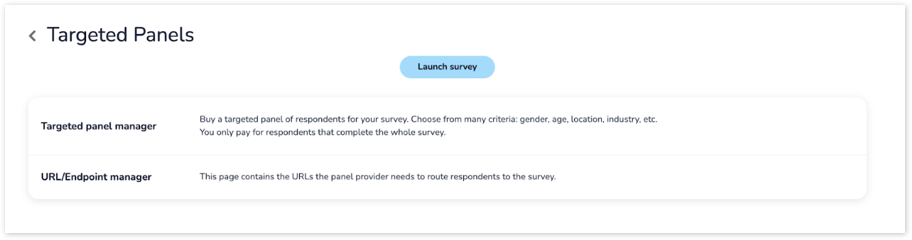
- Select URL/Endpoint manager. On this page, you can generate a unique survey URL for each external panel provider that you are using for your survey. The panel provider will need one of these unique survey URLs to route their respondents to the survey.
- Click Generate URL. Enter a name for your URL so that you know to which panel provider this URL should be distributed. You should have received a list of redirect URLs from the panel provider, for completes, screeners/terminate/disqualifications, quotafulls, speeders, etc. (depending on the panel provider you may receive different links). Enter the Complete URL and the Terminate/Disqualified URL in the corresponding fields (Note: These URLs must start with “http” or “https”). You will see a placeholder for the panelist ID in the links; replace this placeholder with the variable for the hidden question that captures the panelist ID. Refer to it by using the question data label that you set earlier. In our example, the variable will be {{respondent.questions.pid}}. If your panel provider sent you an Overquota URL, you can enter that here as well. When you are finished, click Add URL.
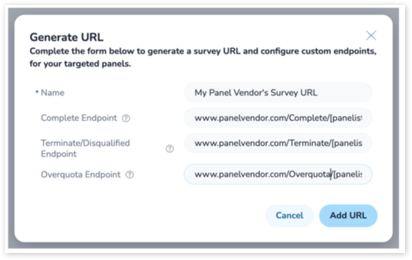
Reminder: You should always use ‘pid’ as your Querystring Parameter value unless the third party panel vendor you are working with has specifically asked you to use a different Querystring Parameter to indicate the Panelist ID indicator field.
- You will now see your unique Survey URL along with its associated URL Endpoints. Each Survey URL leads to a live version of the survey, where the panelist can select their preferred language then proceed to the survey itself. Send this URL to your panel provider so that they can distribute the survey to their panelists. The [PANELIST-ID] variable within the Survey URL will need to be replaced by the panel provider with a unique panelist/transaction ID for each respondent.
Note: If you are using more than one panel vendor, repeat steps 1-6 to generate a unique URL for each panel vendor. This way, you can ensure that your respondents are effectively redirected to the appropriate complete and terminate URLs depending on which panel vendor they belong to.
- Once your unique Survey URL is generated, we will automatically create a hidden textbox question in your survey which will be assigned the ‘pid’ data label, and will be prefilled during each survey response to capture the Panelist ID from the external panel vendor.
- Once your unique Survey URL is generated, we will also automatically assign branching to the last page in your survey so that each panelist is routed appropriately to the third-party panelist survey complete page upon completion.
Adding quotas
To ensure that you only collect the responses you need, you can set a maximum number of completes for your survey. To do this, complete the following steps.
- Select Settings from the survey options menu.

- Select Options.
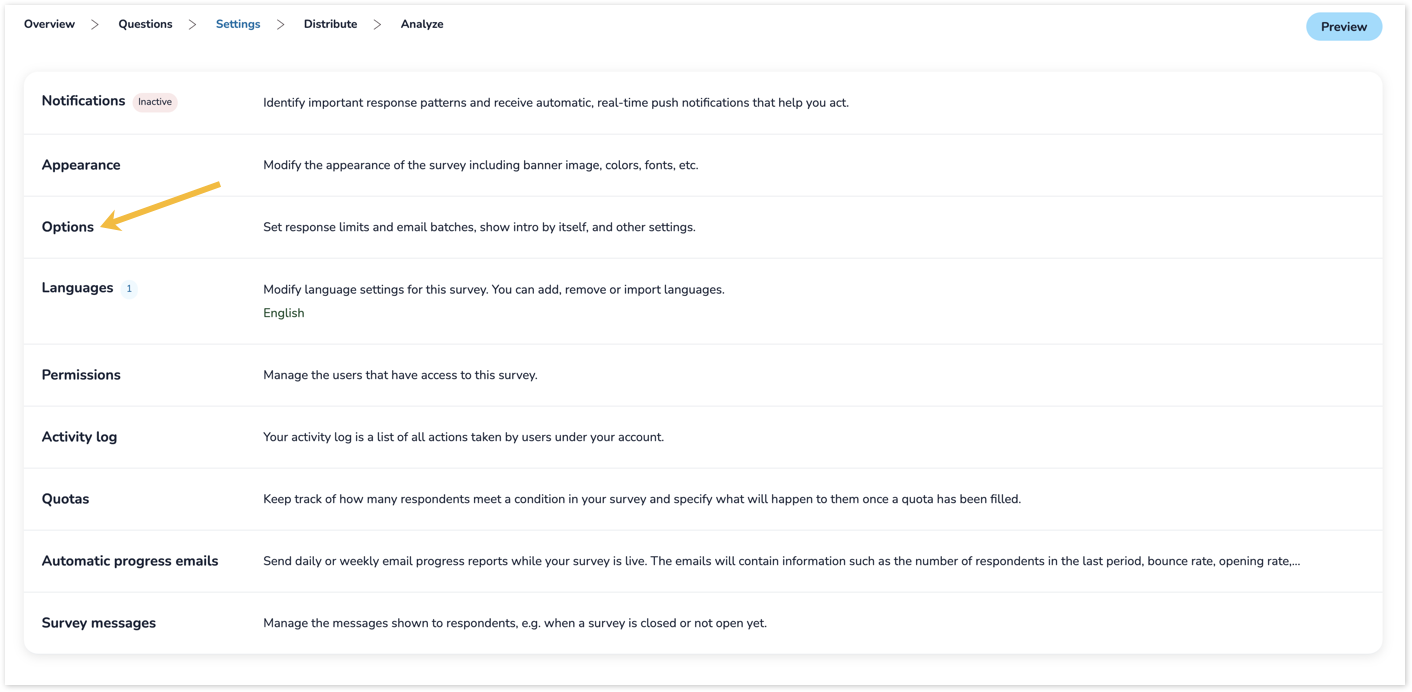
- Select the Set a max respondent count checkbox. Then enter a number of completes. Click Save.

Additionally, you can set survey quotas so that the survey closes for a specific segment from which you already have enough responses while remaining open for other segments you still want to reach. Make sure to redirect to the quotafull links that you received from the panel provider. If you entered a quotafull link within the URL/Endpoint Manager in the Generate URL step, any respondents who would have qualified for the survey but cannot proceed because the quota has already been met will be automatically redirected to the quotafull link for their respective panel vendor.
Once all has been set up and your survey has been thoroughly tested, launch the survey, and start collecting responses. If you don’t have your own panel, try our new integrated Targeted Panel Manager tool.
Geef een antwoord